How to Format a Resume in Microsoft Word: The Settings That Actually Matter
Most resume problems in Word come from three habits: tables for layout, text boxes, and spacing done with the space bar. Here is how to format a resume in Word properly, in the order that keeps it stable when you edit it later.
To format a resume in Word, set your margins first (Layout > Margins), build headings with Word's own Styles rather than bold text, put each job's dates on the same line as the title with a right-aligned tab stop, keep everything in one main column without tables or text boxes, and save a PDF copy to send. That is the whole of good Microsoft Word resume formatting. The rest of this guide walks through each step, explains why it matters to recruiters and applicant tracking systems, and covers the formatting habits that quietly break a resume the next time you edit it. Menu names below were checked against Microsoft's support pages in October 2026 and apply to Word for Microsoft 365 and Word 2016 to 2024 on Windows.
Why word resume formatting goes wrong
Word is a word processor, not a layout tool, and most resumes break because they are built as if it were one. A two-column layout made from a table, a contact block in a text box, dates pushed to the right with the space bar: each looks fine on screen and each causes a specific failure later.
Tables commonly scramble the order of dates and job titles when an applicant tracking system reads the file. Text boxes are frequently skipped entirely, so whatever is inside them never reaches the recruiter's database. Space-bar alignment drifts the moment a font changes or a line gets longer, and the dates end up in a ragged column.
Formatting a resume in Word the right way avoids all three by using the features Word was built for: styles, tab stops and page settings. It takes about twenty minutes to set up, and the result survives every edit afterward. The same rules apply whether you start from a blank page or a Microsoft Word resume template.
Microsoft Word resume formatting at a glance
The table is the whole guide in one place. Each row is explained in the steps below, with the exact menu path.
| Setting | Where in Word | Recommended for a resume |
|---|---|---|
| Margins | Layout > Margins | Normal (1 inch), or 0.7 to 1 inch via Custom Margins |
| Body font | Home > Styles > right-click Normal > Modify | A common font at 10.5 to 12 points |
| Section headings | Home > Styles > Heading 1 or 2, modified | Standard names: Summary, Experience, Education, Skills |
| Space between paragraphs | Home > Paragraph dialog launcher > Indents and Spacing | Spacing before and after, not blank lines |
| Dates on the job line | Home > Paragraph dialog launcher > Tabs | One right-aligned tab stop at the right margin |
| Bullets | Home > Bullets | Word's list feature, not typed dashes |
| Keep a title with its bullets | Right-click > Paragraph > Line and Page Breaks | Keep with next on job titles and headings |
| Remove hidden personal data | File > Info > Check for Issues > Inspect Document | Run on a copy before sending |
| Save as PDF | File > Save As or Save a Copy, then choose PDF | Send the PDF unless asked for Word |
Step 1: Set margins and the base font
Start with the page, before any content. In Word, go to Layout > Margins and choose Normal (one inch on every side), or select Custom Margins to set your own. Margins between 0.7 and 1 inch work for most resumes; going narrower to squeeze in more text makes the page harder to read and can clip when printed.
Next, set the body font in the Normal style so every paragraph inherits it. On the Home tab, right-click Normal in the Styles gallery, choose Modify, and pick a readable font at 10.5 to 12 points. Calibri, Arial, Georgia and Garamond are all safe choices. Avoid decorative fonts and anything under 10 points.
Step 2: Build headings with Styles, not bold text
Section headings such as Summary, Experience, Education and Skills should use Word's Heading styles from the Styles gallery on the Home tab, modified to look the way you want. That gives the document a real structure: the Navigation pane can find each section, screen readers can announce them, and changing the look of every heading later is one edit instead of twenty.
Use standard heading names. Applicant tracking systems look for familiar labels, and "Where I have been" is harder to recognize as an experience section than "Experience". Keep headings to one or two levels; a resume rarely needs more.
Paragraph spacing: settings, not blank lines
Pressing Enter twice to make a gap is the habit that makes resumes jump around when you edit them. A blank paragraph is still a paragraph, so it gets pushed onto a new page, carries its own font size, and adds a stray line when the text is read by software.
Instead, set the space in the paragraph itself. Select the paragraphs, then on the Home tab select the dialog box launcher in the Paragraph group and choose the Indents and Spacing tab. Set spacing after body paragraphs to a few points and give headings more space before than after, so each heading sits closer to the section it introduces. Line spacing of single or 1.15 suits most resumes.
Do this in the styles (Normal, your headings and your job-title style) rather than paragraph by paragraph, and the whole resume stays consistent automatically.
Step 3: Put dates on the job line with a right tab stop
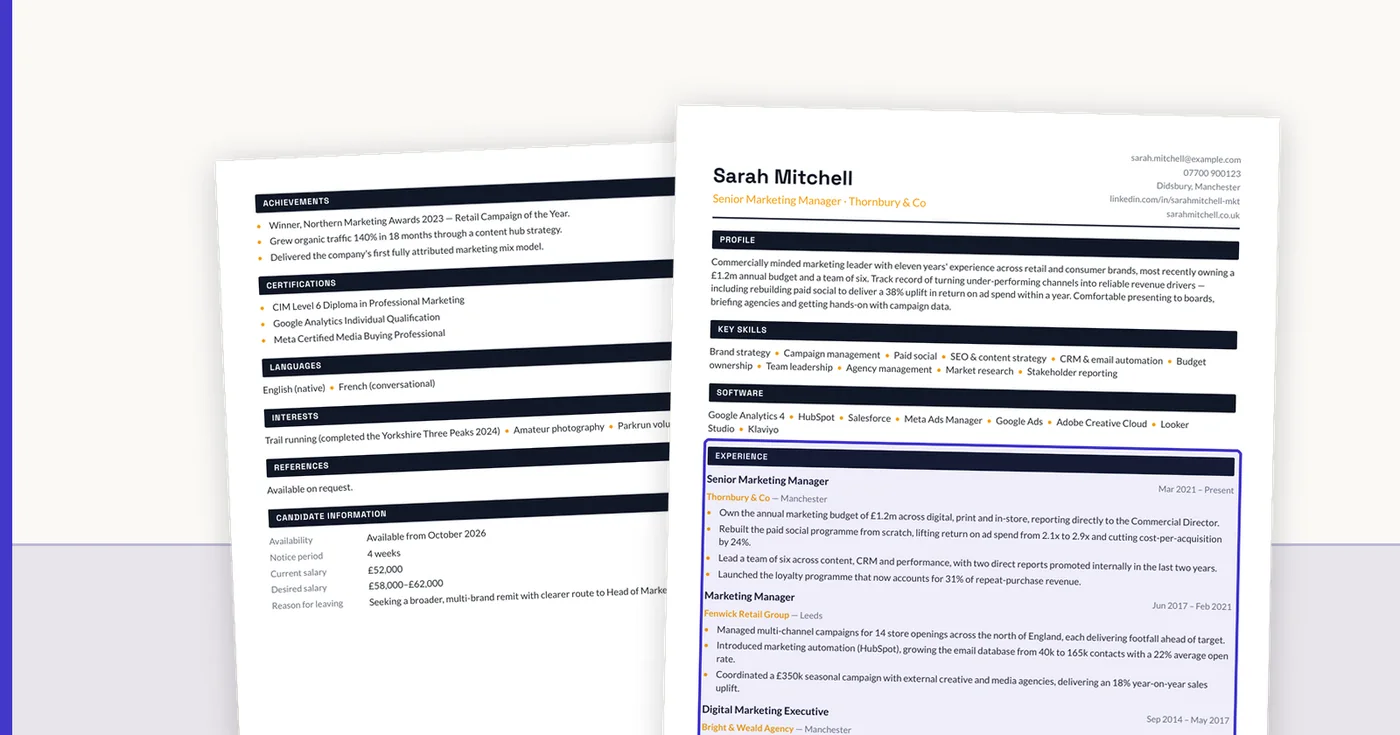
This is the single most useful formatting trick for a resume in Word. Type the job title, press Tab, then type the dates. Then set a right-aligned tab stop at the right margin so the dates line up neatly on every role.
To set it, select the line (or modify the style you use for job titles), go to Home, select the Paragraph dialog launcher (the small arrow in the corner of the Paragraph group), choose Tabs, enter the position of your right margin in Tab stop position, choose Right under Alignment, select Set, then OK. Microsoft notes that Word for the web cannot set tab stops, so do this in the desktop app.
Dates set this way stay on the same line as the job title in the file's text, which is exactly what a parser needs to attach the right dates to the right job. A table cell or a text box can separate them.
- Job title, then Tab, then dates, on one line
- Employer and location on the next line
- Achievement bullets underneath, using Word's bullet list rather than typed dashes
- One consistent date format throughout, such as Mar 2021 to Present
Bullet points in Word, done properly
Use Word's list feature for achievement bullets: select the lines and choose Bullets on the Home tab. Typed hyphens and asterisks look similar on screen but are just characters, so they do not wrap neatly, and they behave inconsistently when your resume is converted or parsed.
Choose a simple round or square bullet. Custom symbols such as arrows, check marks or icons from symbol fonts can come out as odd characters when the text is extracted. If the bullets sit too far from the text, right-click the list and adjust the list indents so the bullet is close to the margin and wrapped lines align with the first word, not the bullet.
Keep each bullet to one or two lines and start it with a verb. Resume summary examples shows the same evidence-first writing applied to the top of the page.
Step 4: Keep it to one main column
A single column reads in the order you wrote it, to a person and to software. Two-column resumes built with tables or text boxes look efficient but are the most common cause of jumbled text when a resume is parsed, and you cannot see the problem by looking at the page.
If you want a narrow strip for contact details or skills, keep it short and make sure the essential facts (job titles, employers, dates) are in the main flow of text. Our ATS-friendly resume templates are mostly single-column for this reason, and most of them are a chronological resume template for Word users too, since every one exports an editable Word file.
Step 5: Avoid the formatting that breaks resumes
Each item below is common in downloaded templates and each causes a predictable problem.
- Text boxes: often dropped completely by applicant tracking systems.
- Tables for layout: a frequent cause of scrambled dates and titles.
- Contact details in the header or footer: many parsers read only the body. Put your name, email and phone at the top of the page itself.
- Spaces and repeated Enter presses for alignment: use tab stops and paragraph spacing instead.
- Skill bars, icons and graphics: meaningless to software and unverifiable to a reader. List skills as words.
- Columns created with Layout > Columns: risky for the same reason as tables.
How to fix a resume already built with tables and text boxes
Most people are not starting from a blank page. If your resume already uses tables, text boxes or space-bar alignment, you can repair it rather than retype it.
Start by turning on formatting marks: on the Home tab, in the Paragraph group, select Show/Hide (the ¶ button), or press Ctrl+Shift+8. You will see every tab, space, paragraph mark and table boundary. Rows of dots where spaces were used for alignment, and empty paragraphs used as gaps, become obvious.
To take content out of a layout table, click inside it, then on the table's Layout tab, in the Data group, select Convert to Text. Choose Tabs as the separator, and each row becomes one line with its cells separated by tabs, ready for a right-aligned tab stop. For a text box, cut its contents, paste them into the main body where they belong, and delete the empty box.
Finally, select a job title line that looks right, and use the Styles gallery to create a style from it. Apply that style to every other job title. Five minutes of this removes most of the inconsistencies that make a resume look homemade.
Step 6: Save a PDF, and test it
Send a PDF unless the employer asks for Word. In Word for Windows, go to File > Save As, pick a location, choose PDF from the Save as type list, and select Save. On a Mac, use File > Save As and choose PDF as the file format. A PDF fixes your layout so it looks the same on every device.
Then run the test that catches most problems: open the PDF, select all the text, copy it, and paste it into a plain text editor such as Notepad. Read it top to bottom. Your name should come first, each job title should be followed by its employer and dates, and nothing should be missing or out of order. If it reads correctly as plain text, an applicant tracking system will usually read it correctly too.
Keep the Word file as your master copy and save a fresh PDF whenever you change it.
Word on a Mac and Word for the web
The approach is the same everywhere: styles, paragraph spacing, tab stops, one column. The menus differ slightly.
On a Mac, paragraph spacing lives under Home > Line and Paragraph Spacing > Line Spacing Options, which opens the same Indents and Spacing settings. Saving as PDF is File > Save As with PDF chosen as the file format.
Word for the web can edit text and paragraph spacing (on the Layout tab, using the Before and After boxes), but Microsoft notes that it cannot set tab stops. Build or repair the layout in the desktop app, then use the web version only for small text edits, and check the dates are still aligned before you save a new PDF.
Formatting resume in Word versus starting from a template
Word's own templates (File > New, then search for resume) are a reasonable starting point, but check how each one is built before you commit. Many a professional-looking Microsoft resume template is assembled from tables and text boxes, which is where the problems above begin.
The other route is to keep your content and let software handle the layout. ConnectIQ reads the resume you already have, as a PDF or Word file, and sets it in any of 57 templates, then exports both a PDF and an editable Word document from the same version. The PDF is exact; the Word file is a close approximation you can keep editing. Nothing is retyped, so nothing new can creep in. Your first conversion is free with no card. For the structure itself, see the reverse-chronological resume, and for the top of the page, resume summary examples.
FAQ
Q01How do I format a Word doc into a resume?
Set margins first (Layout > Margins), define your body font in the Normal style, use Heading styles for section titles, put dates on each job line with a right-aligned tab stop, keep one main column without tables or text boxes, and save a PDF copy to send.
Q02What is formatting on a resume?
It is how your content is arranged on the page: margins, fonts, headings, the order of sections and where dates sit. Good formatting makes the resume quick to scan for a person and easy to read in order for software.
Q03What font size should a resume be in Word?
Body text between 10.5 and 12 points, with headings a little larger or set in bold through a Heading style. Anything under 10 points is hard to read, especially when printed.
Q04Should I use a table to format my resume in Word?
Avoid it for layout. Tables are a common cause of jumbled dates and titles when an applicant tracking system reads the file. Use tab stops to align dates and keep the content in a single column.
Q05Should I send my resume as a Word document or a PDF?
PDF by default, because it keeps your layout exactly as you designed it. Send Word when the employer or a staffing agency asks for it; agencies often need an editable file to put your resume on their own template.
Q06Where can I find free Word resume templates?
Word includes its own: go to File > New and search for resume. Check whether a template uses tables or text boxes before you use it. Our 57 resume templates work differently: you upload your resume and get it back formatted as PDF and Word, free on your first conversion.
Q07How do I make the dates line up on the right in a Word resume?
Type the job title, press Tab, type the dates, then set a right-aligned tab stop at the right margin: Home, Paragraph dialog launcher, Tabs, enter the position, choose Right, Set, OK. Do it in the style you use for job titles so every role lines up.
Q08How do I stop my Word resume from moving when I edit it?
Replace blank lines with paragraph spacing, replace spaces with tab stops, take content out of text boxes and tables, and format through styles rather than by hand. Turn on Show/Hide (Ctrl+Shift+8) to see what is holding the layout together.
Q09How do I fix my resume format?
Turn on formatting marks, convert any layout tables to text, move text box content into the main body, put dates on each job line with a right tab stop, and rebuild headings with Styles. Then save a PDF and check that the copied text reads in the right order.
ConnectIQ Editorial documents practical recruitment operations and the controls implemented in the ConnectIQ product. This guide is general operational information, not legal advice.